Mystery Case Files:
Escape from Ravenhearst
Collector's Edition Walkthrough
...at margotbean.com
Notes

I refer to the morphing/changing object scenes as COS in this walkthrough.
There are no achievements or best times in this game, so feel free to skip puzzles that are too difficult to be fun. Look for the "skip" button at the lower right of your screen.
Before you start, click below the user name ("Master Detective" by default) and create a nickname for yourself. Make it a good one.
Act I
The Front Gate
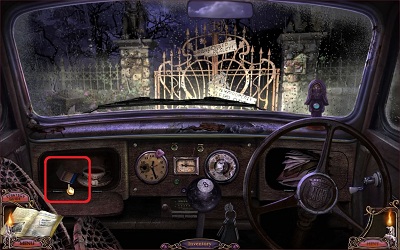
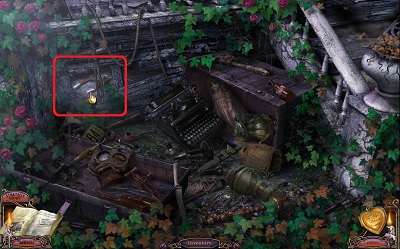
- Click the glove box at the lower left of the screen. Take the MATCHES.
- Click at the right side of the screen to exit the car.
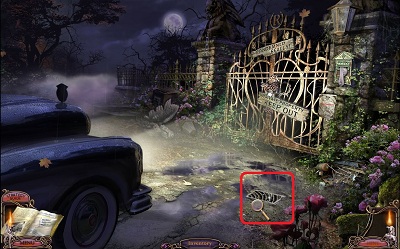
- Click on the sewer grate.
- Take Emma's heart-shaped locket.
- Watch the cutscene.
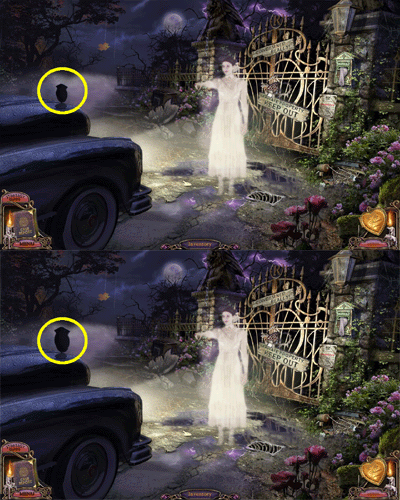
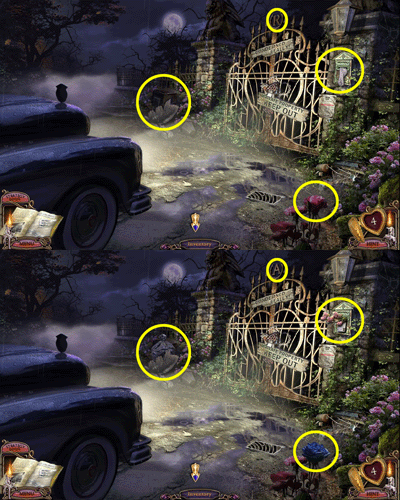
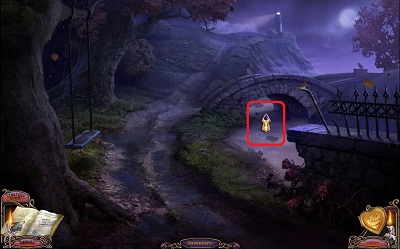
- Click on the changing hood ornament.
- Click through the notes that popup on screen, then click on the four changing objects.
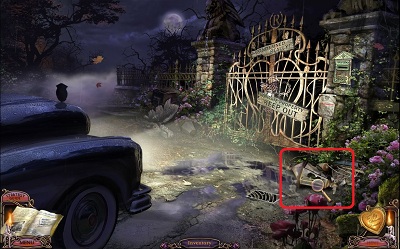
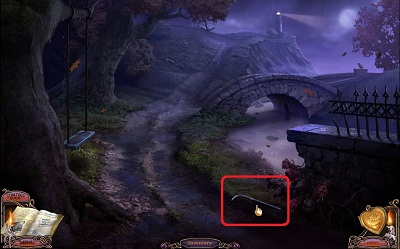
- Click through the note on screen, then click on the broken lamp on the ground.
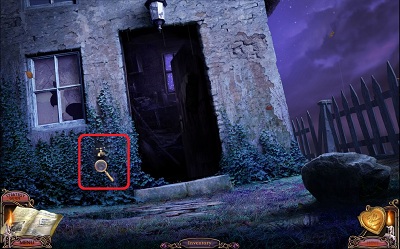
- Click to move the lamp out of the way, then click to take the BOTTLE OPENER.
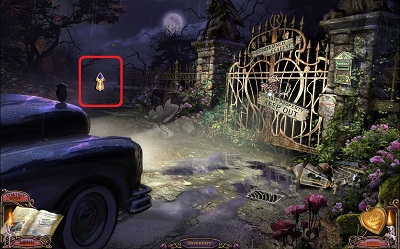
- Click to go down the path to the left of the front gate.
The Path
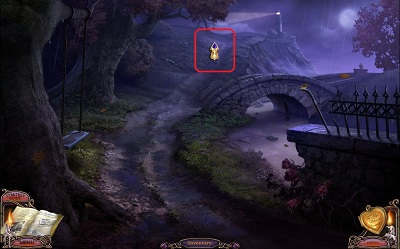
- Click to go towards the lighthouse.
- Click forward again. Watch the cutscene.
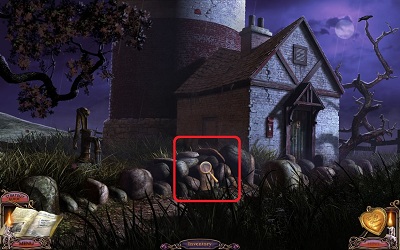
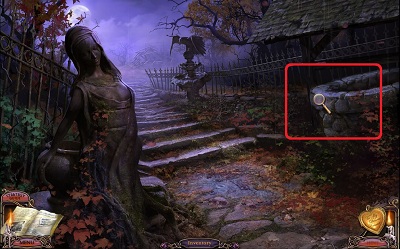
- Click on the rock wall to zoom in.
- Use the BOTTLE OPENER on the rock. Click on the rock. A LARGE ROCK goes into inventory.
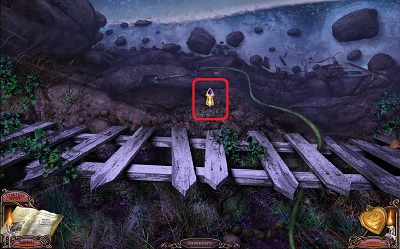
- Click on the key. It falls in between the rocks.
- Exit the closeup, then click down 2x to return to the path.
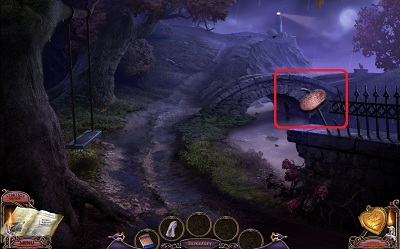
- Click the LARGE ROCK 3x on the iron grating atop the stone wall on the right.
- Click to take the METAL BAR.
- Click to go under the bridge.
- Optional: Click on the drain pipe at the right of the screen to zoom in, then click to hear anguished cries for help.
- Optional: Click on the water in the middle of the screen to see a cutscene of the twins.
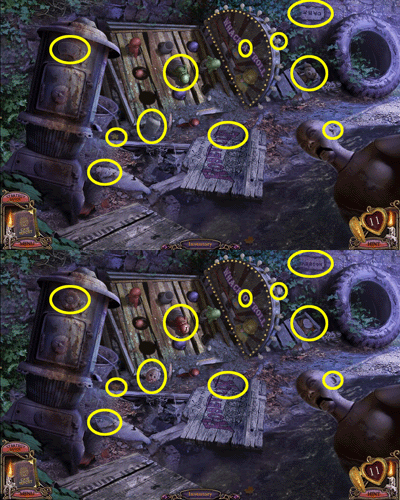
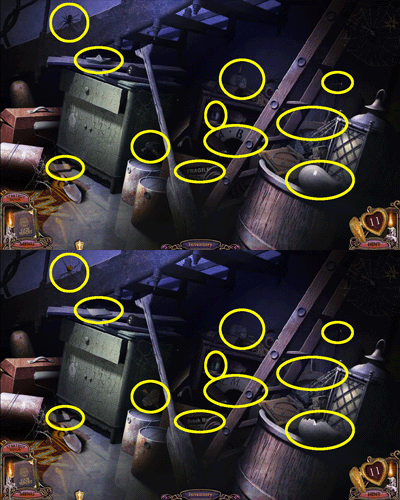
- Click on the left of the screen for a COS (changing object scene).
- Click on the eleven changing objects.
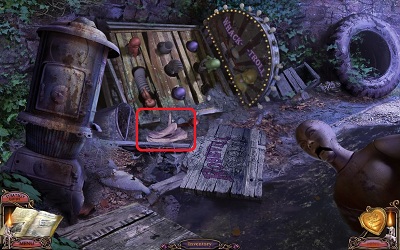
- Pick up the RAG.
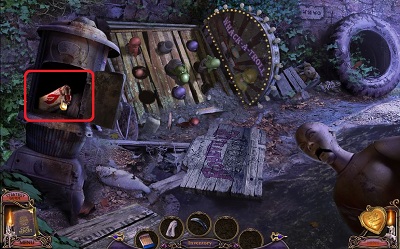
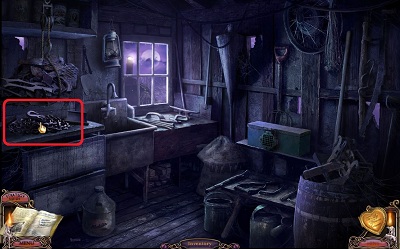
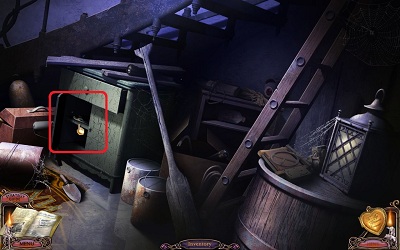
- Click the METAL BAR on the door to the stove. Take the LIGHTER FLUID.
The Cabin
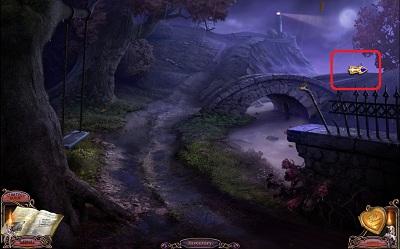
- Go back to the path. Click at the far right of the screen to go over the bridge.
- Go forward to the door at the right of the cabin.
- Click on the door to zoom in.
- Use the METAL BAR on the scratched-up hole in the door.
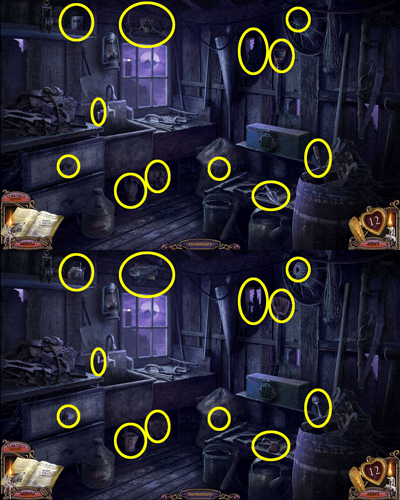
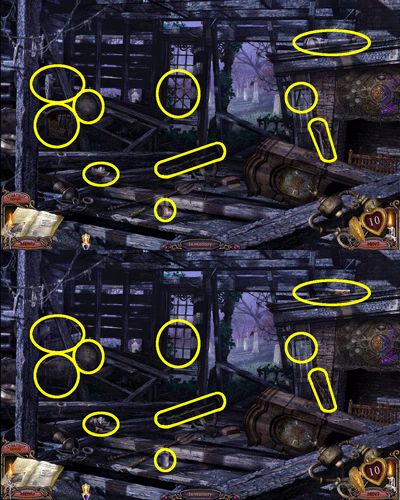
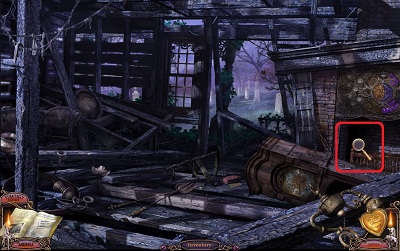
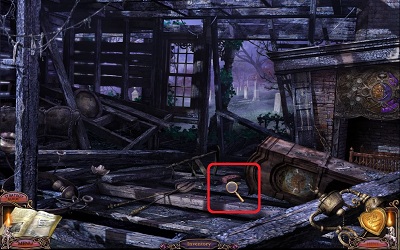
- Enter the cabin for a COS. Click on the twelve changing objects.
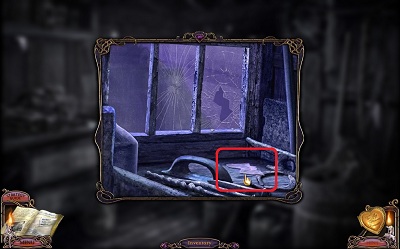
- Click on the window to zoom in. Click on the lower right pane of glass to shatter it. Click to take the GLASS SHARD.
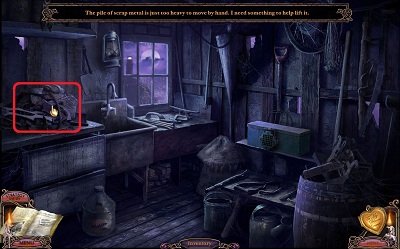
- Click on the pile of scrap metal at the left of the screen. We need to lift it.
- Click down 2x to exit the cabin and go to the mailbox.
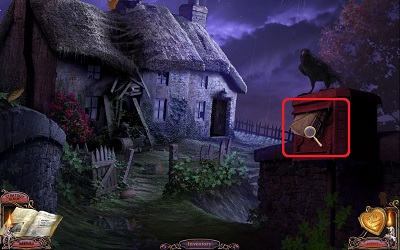
- Click on the mailbox to zoom in.
- Click the GLASS SHARD on the packet of mail 4x to take TWINE into inventory.
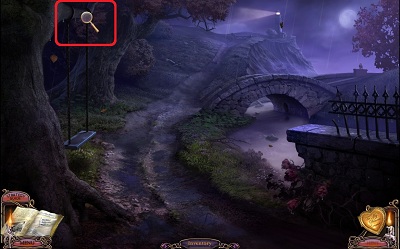
- Return to the path. Click on top of the swing on the left to zoom in.
- Click the GLASS SHARD on the rope 4x to take ROPE into inventory.
- Return to Victor's cabin.
- Click the ROPE on the pile of scrap metal at the left of the screen.
- Click on the pile of scrap metal to raise it.
- Click to take the CHAIN into inventory.
- Go back to the front gate. Zoom in on the front gate.
- Click the CHAIN on the front gate in closeup.
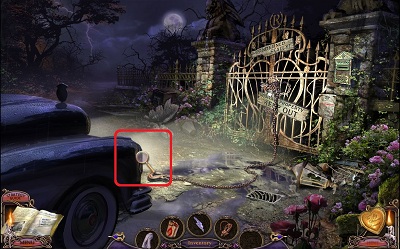
- Click on the front of your car to zoom in.
- Click on the metal hook on the ground to attach it to your car.
- Click outside the zoom window to exit the closeup.
- Click on the far left (or the bottom) of the screen to get in your car.
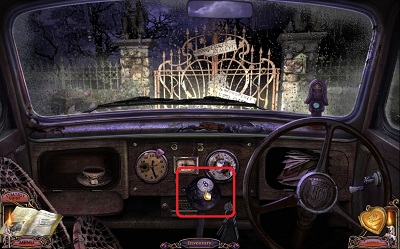
- Click on the 8-ball gear shift.
- Watch the cutscene... You successfully take down the gate and ruin your car!
- Exit the car. Click to go through the gate to Ravenhearst Manor.
The Manor
- Click on the well at the right of the screen for a closeup.
- Click on the bucket 4x.
- Click the GLASS SHARD on the BUCKET 3x to take it into inventory. Watch the well collapse.
- Click to continue down the stone path to Ravenhearst Manor.
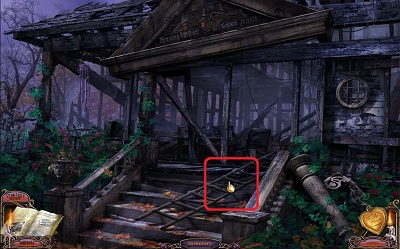
- Click on the LADDER on the front steps to take it into inventory.
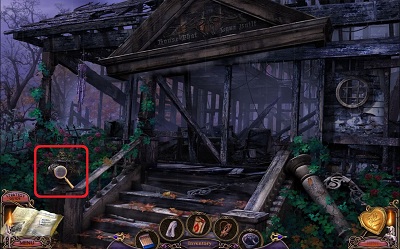
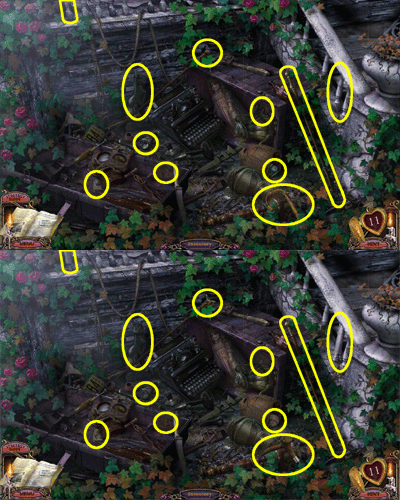
- Click on the statue-head at the left of the steps for a COS.
- Click on the eleven changing objects.
- Click to take the MAGNET into inventory.
- Exit the COS. Click to enter (what's left of) the manor.
- Click on the ten changing objects.
- Click on the fireplace at the right of the screen for a closeup.
- Click on the center to remove the bricks.
- Take the V KEY.
- Click on the red brick in the center of the floor.
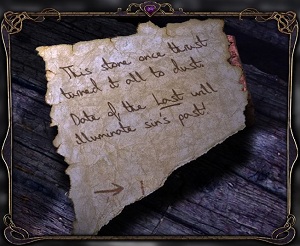
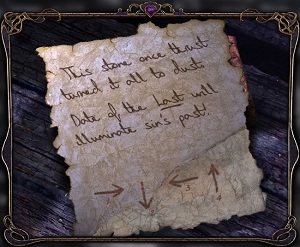
- Click on the brick in closeup. "Date of the Last will illuminate sin's past!"
- Exit the closeup; go through the back door to the cemetery.
- Watch the cutscene.
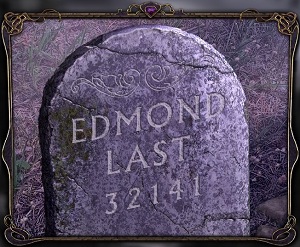
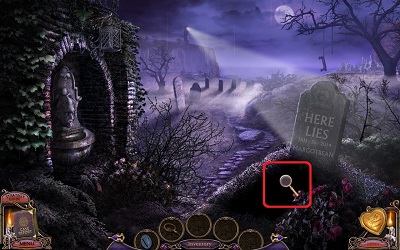
- Click on the tombstone in the middle of the screen.
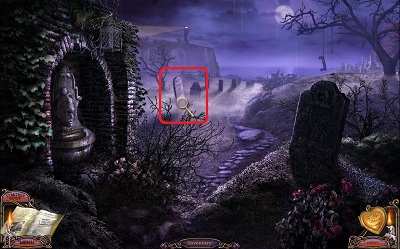
- Note that this is "Last's" tombstone. Write down the "date of the 'Last'" (random 5-digit number) on the tombstone.
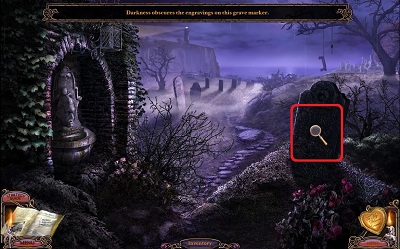
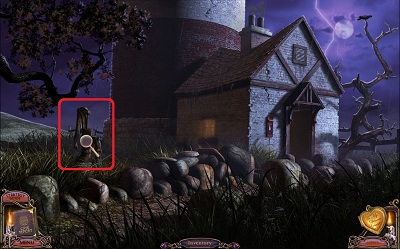
- Click on the tombstone at the right of the screen - we'll need to illuminate it.
The Lighthouse
- Go back to the lighthouse. Zoom in on the rock wall.
- Click the MAGNET on the key in the rocks.
- Click the TWINE on the magnet in the closeup.
- Click on the magnet to get the LIGHTHOUSE KEY.
- Click on the lighthouse door to zoom in.
- Click the LIGHTHOUSE KEY on the keyhole.
- Enter the lighthouse.
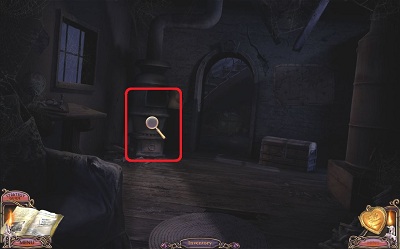
- Click on the stove for a closeup.
- Click the LIGHTER FLUID then the MATCHES on the wood.
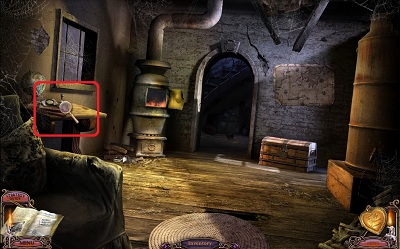
- Click on the table on the left to zoom in.
- Click to take the MAGNIFYING GLASS.
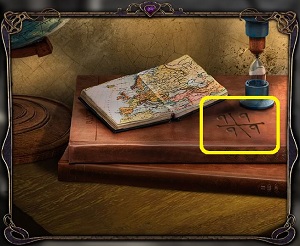
- Note the random set of four numbers etched into the book.
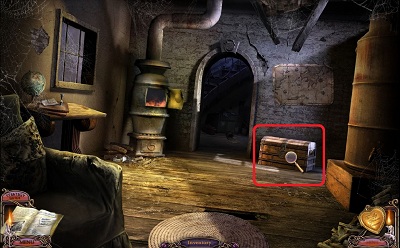
- Exit the closeup. Click on the wooden chest to zoom in.
Wooden Chest Lock
There is no reset button in this puzzle, so read the solution before you dive in!
...Having said that, I've noticed that if you exit the game entirely (without solving the puzzle) then restart the game, you will be at the point where you first entered the lighthouse.
Instructions
- Reproduce the numbers that were etched into the book on the left table.
- Click the gray +/− buttons to change the numbers.
- Buttons on the right and left affect a row of numbers, those on the top and bottom affect a column of numbers, and those in the corners affect a diagonal line of numbers.
- Note: The solution is random, but the numbers on the lock are always 4 8 3 1.
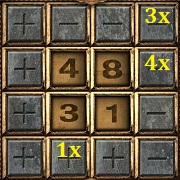
Solution - from starting state
- In any order, click the top right corner minus (−) button 3x, the minus (−) button below it 4x, and the left column plus (+) button 1x.
- This will put the grid at 1 1 1 1.
- If something other than 1 1 1 1 was etched into your book, then click the row (or column) buttons (but not both) until your solution is correct.
Solution - from any state
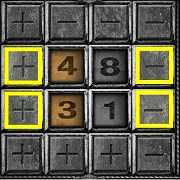
The First Three Digits
Start with the left column. Ignore what happens in the right column.
Use the horizontal (row) buttons to get the left column to the correct digits.
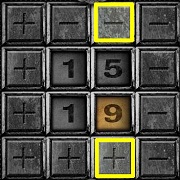
Now for the right column...
Start with the number on the bottom. Use one of the right column (vertical) buttons to get it to the correct digit.
The Fourth Digit
Now for the last digit, the upper right digit.
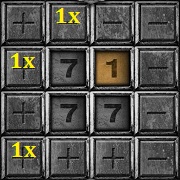
If you need to increase the final digit, click in any order: the left column minus (-) button once, the top row plus (+) button once, and the left bottom corner plus (+) button once.
Repeat until your solution is correct.
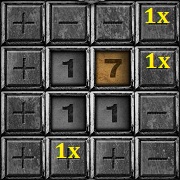
If you need to decrease the final digit, click in any order: the left column plus (+) button once, the top row minus (-) button once, and the top right corner minus (-) button once.
Repeat until your solution is correct.
Note that these steps increase/decrease the final digit by two each time. It's not technically possible to get the puzzle to a state where you need to increase/decrease the final digit by one....
When done correctly, the chest opens.
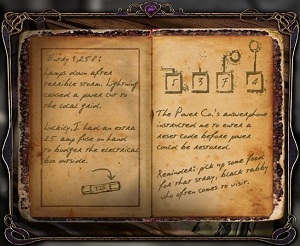
- Zoom in on the red book inside: "The Power Co.'s answerphone instructed me to enter a reset code before power could be restored."
- Take note that the reset code is 5 3 7 4.
- Zoom out and click on the map on the wall above the chest.
- Take note of the "secret lever" shown on the lower right of the map.
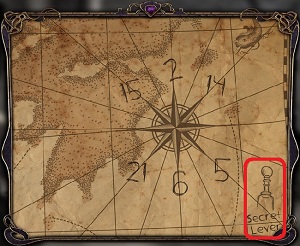
- Proceed through the doorway to the circular staircase.
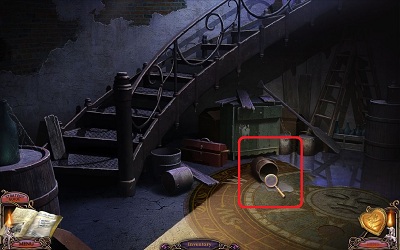
- Click on the spilled bucket to zoom in.
- Click the RAG on the spilled paint 3x.
- Note the large compass on the floor - West is 8.
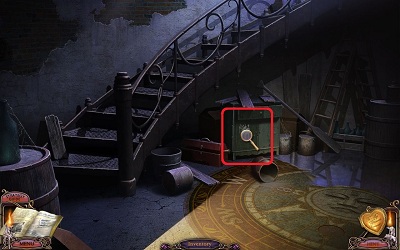
- Click on the green dresser for a COS.
- Click on the eleven changing objects.
- Click to take the WRENCH.
- Exit the COS. Click 1x to go up the stairwell.
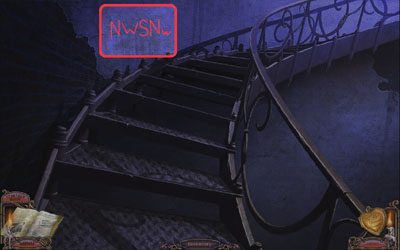
- Note the letters etched in the wall.
- Optional: Click at the right of the screen to view the compass on the floor.
- Click 1x to proceed up the stairs.
- Optional Click at the right of the screen to view the compass on the floor.
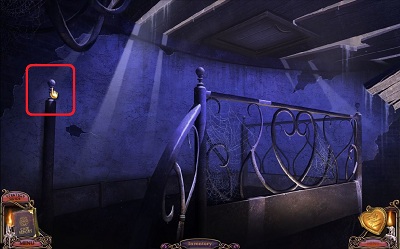
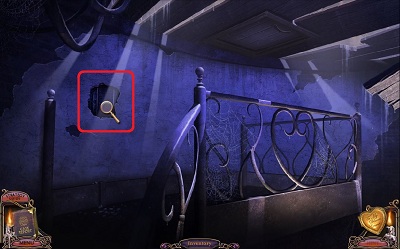
- Click on the "secret lever" at the left of the screen.
- Click on the hole in the wall to zoom in.
- Enter the correct code.
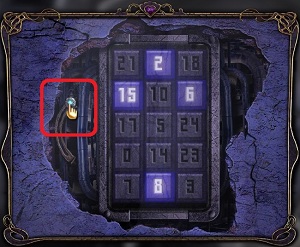
Lighthouse Hatch Puzzle
The letters etched into the wall of the stairwell tell us we need to enter N W S NW.
From the compass on the floor, we know that West is 8.
From the map on the wall, we know that North is 2, South is 6, and Northwest is 15.
We need to enter 2 8 6 15. Click on the numbers in any order.
Click the lever on the left.
- The hatch opens. Go up the ladder.
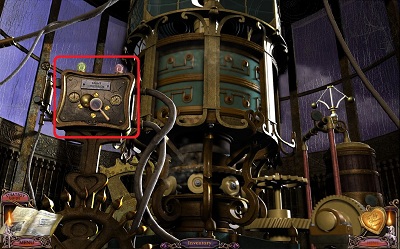
- Zoom in on the light override panel on the left.
- Click the arrows around the big knob to move it in any direction 3x. Oh no! You broke it!
- Leave the lighthouse and go under the bridge. Click the BUCKET on the water. (Watch a short cutscene of the twins if you haven't before.)
- BUCKET OF WATER goes into inventory.
- Go to your car. Click on the front of it to zoom in.
- Click the RAG on the hood to open it.
- Click the BUCKET OF WATER on the engine.
- Click on the fuse box at the right of the engine.
- Click the fuse on the right to take a CAR FUSE.
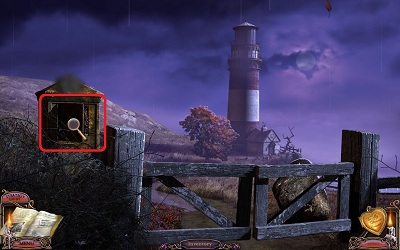
- Go to the electrical panel at the gate outside the lighthouse. Click on it to zoom in.
- Click the CAR FUSE on the panel at the lower left.
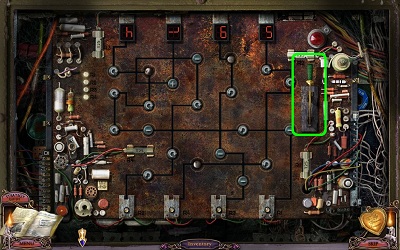
Fuse Box Puzzle
The red book page (from the wooden chest in the lighthouse) tells us we need to reset the code to 5 3 7 4.
Click the green lever at the right to move the numbers from top to bottom.
As you might expect, the little "+" buttons add one to the number, the "−" buttons subtract one, and the circular arrows turn the number clockwise or counterclockwise.
Unfortunately, the starting numbers are random. The starting state of the little round buttons is also random.
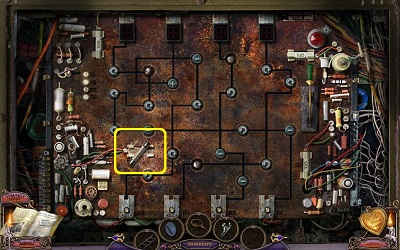
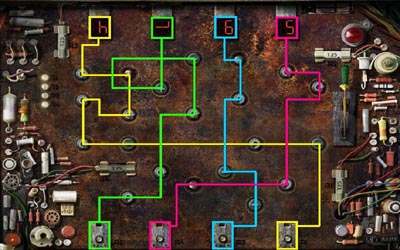
Shown below are the paths the numbers take from top to bottom.
Work on one number at a time.
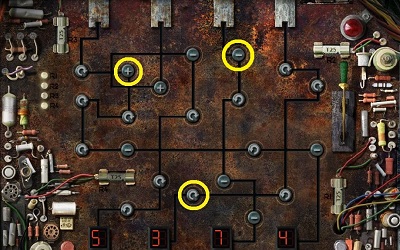
Take note of how the missing buttons change the numbers. In my experience, the effect is not random. The one at the upper left adds one, the one at the upper right subtracts one, and the one at the bottom turns the number clockwise.
Again, your goal is to have the numbers 5 3 7 4 at the bottom of the screen.
If you just can't get it (or you're sick of trying), then click to skip the puzzle. I promise I won't tell...
- Go back to the front of the lighthouse.
- Zoom in on the pump on the left.
- Click the WRENCH on the nut attaching the hose to the stand.
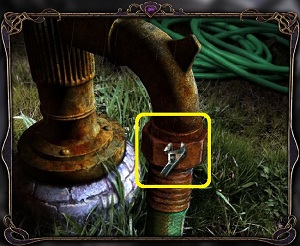
- A GARDEN HOSE goes into inventory.
- Go to Victor's cabin.
- Zoom in on the spigot left of the door.
- Click the GARDEN HOSE on the spigot.
- Click at the right of the screen to look down the cliff.
- Click to shimmy down the garden hose.
- Take the SHOVEL.
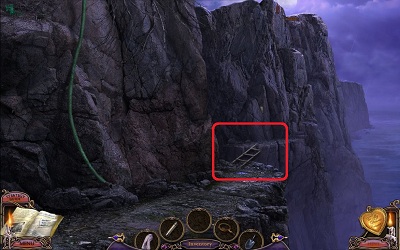
- Click the LADDER on the gap in the cliffs.
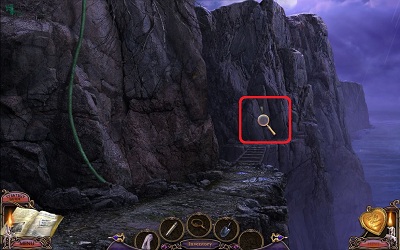
- Click on the paper stuck in the cliff for a closeup.
- Click to take the CLUE FRAGMENT.
- Go all the way back to the burned out room in the manor.
- Click on the brick in the middle of the floor.
- Click the CLUE FRAGMENT on the scrap of paper to join them.
- Note the direction of each number: 1 →, 2 ↓, 3 ←, 4 ↑.
- Return to the top of the lighthouse.
- Zoom in on the light override panel on the left.
Lighthouse Puzzle
Use the numbers from Edmond Last's tombstone to restore power to the light.
Recall that the numbers from Last's tombstone are random. If you didn't write them down, you must go back to the cemetery behind the manor and get them!
The scrap of paper from the brick on the floor of the manor tell us that 1 is right, 2 is down, 3 is left, and 4 is up.
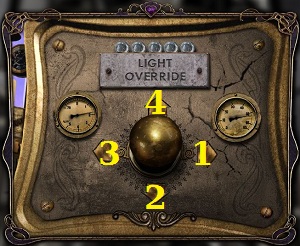
Click the arrows that correspond to the numbers on Last's tomb in order.
- Power is restored to the lighthouse!
- Go to the cemetery behind Ravenhearst Manor. Watch a cutscene of the twins along the way.
- Now that the tombstone on the right is illuminated, we can see part of the epitaph. "Here lies..."
- Use the SHOVEL on the ground in front of the tombstone 3x.
- The gravestone is slowly revealed. EEK!!
- Click on the hole in the ground.
- Watch the cutscene. You may recognize Lee Rahfeldt playing Victor, as he did in MCF: Return to Ravenhearst. Glad they brought him back!
